Skins
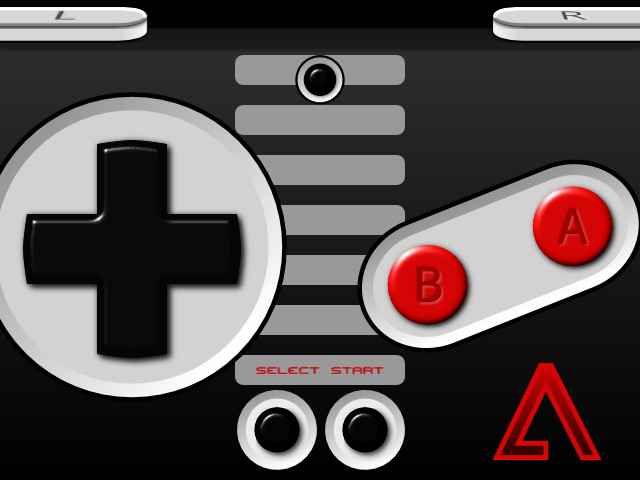
Retro by Paul Thorsen, available for download in GBA4iOS.
Templates
To make the process easier, three templates are provided for you to download and modify to your liking. The Default GBA and Default GBC templates are identical to the default GBA and GBC skins, respectively, included with GBA4iOS. If you want to make a skin with the same button locations as the default skins, we recommend downloading one of these and simply replacing the image files.
The third template, Blank, includes no images or button mappings. This is recommended for when you are using images that don't place the buttons in the exact same place as the default skins, since you'd need to remap the button locations anyway. By using this template, you will need to provide more information in the skin file, but it is much easier to customize the skin to your liking.
Download Default GBA Skin
Download Default GBC Skin
Download Blank Skin
Skin Basics
Unzip the template file you downloaded, and then open the unzipped folder. Inside, you will see a info.json file. This file contains all the information the skin requires to work properly—minus the actual image files—such as:
• Name
• Identifier
• Image names
• Button mappings
• Whether a certain orientation supports GBA4iOS' skin opacity feature
• Whether the skin should be shown in debug mode or not.
(Don't worry if you don't know what some of these mean; they will all be explained in this tutorial.)
As you can tell from the extension, this file is a JSON file. Although JSON files are primarily used by web services to transfer data, it was chosen to be used in GBA4iOS skin files due to its simplicity. Everything in this tutorial can be done via the included text editor on your computer, but it's strongly recommended you use an application designed to open and edit JSON files, as this is much less error-prone (and easy!). If you're using a Mac, Cocoa JSON Editor is what is used to make the JSON files for the included skins, but any other JSON editor will work fine.
Open up the info.json file in the editor of your choice, and you'll see five items:
• name
• identifier
• debug
• portrait
• landscape
In this section of the tutorial, we'll focus on the the first three items; the other two will be covered in the next sections.
name
This item is rather self-explanatory. This is what the skin is called inside GBA4iOS. Replace the current name in your template with whatever name you want, then save the file.
identifier
This is how GBA4iOS internally uses and stores skin files. To ensure that one skin doesn't overwrite another skin, each skin identifier should be unique. Apple recommends using the reverse-DNS format (com.[designer name].[skin name]) when making an app identifier, so we recommend doing the same for skin identifiers. For example, the default GBA4iOS skins have the identifier com.GBA4iOS.default.
NOTE: You may be wondering why both the default GBA and default GBC skins have the same identifier, if that would mean one would overwrite the other. In actuality, the identifier only has to be unique for all of the same type of skin. This means a GBA skin and a GBC skin can have the same identifier without any negative consequences, and in fact this is encouraged if the two skins should be thought of as complementary to one another.
debug
By default, this is set to false. However, when you change this to true, GBA4iOS will overlay translucent red squares on top of where the buttons are mapped when using this skin. When mapping the buttons yourself, it's recommended you set this to true while making the skin, so you can ensure your mappings line up nicely with the image.
The default GBA skin with debug mode enabled.
Images
Almost every time you create or modify a skin, you'll be changing the images that are displayed when actually using the skin. Luckily, changing the images is rather straightforward!
GBA4iOS detects what orientations are supported in a skin by the presence of the portrait and landscape items in the info.json file. If you wanted to have a portrait-only skin, you'd need to delete the landscape item; similarly, if you wanted to have a landscape-only skin, you'd need to delete the portrait item. Of course, if you wanted to support both orientations, you don't need to delete either.
Open up the orientation of your choice (typically by clicking an arrow to the left of the item). Once opened up, you'll see three new items:
• assets
• layouts
• translucent
For the purposes of this section, we will only focus on the assets and translucent items.
translucent
You can determine whether the orientation you're editing should support GBA4iOS' customizable opacity feature. Typically, only landscape skins that go on top of the game screen support this feature, but there's nothing stopping you from enabling it on other types of skins, or even disabling it for your own landscape overlay skin. To enable this feature, set the value to true. If you want to disable this feature, set it to false.
assets
Open up this item, and you'll see four more items:
• iPhone
• iPhone Widescreen
• iPad
• iPad Retina
Each one of these refers to a different screen type supported by GBA4iOS. iPhone refers to the iPhone 4 and 4S, iPhone Widescreen refers to the iPhone 5 and 5s (as well as the iPod touch 5G), iPad refers to the iPad 2 and non-retina iPad mini, and iPad Retina refers to all iPads with a retina display. To provide a skin image optimized for a particular screen type, all you need to do is set the value of each item to the filename of the matching image.
For example, if you downloaded the Default GBA template and opened up the portrait assets, you would see the following:
• iPhone: portrait.png
• iPhone Widescreen:
• iPad: portrait-ipad.png
• iPad Retina: portrait-ipad@2x.png
As you can see, each filename begins with the word "portrait", then appends different suffixes depending on what screen the image was made for. Technically, these filenames can be anything you want, but it is strongly recommended you follow a standard naming convention, since that makes it easier to change images without having to open up the info.json file and update the filenames. Typically, GBA4iOS uses the following naming conventions for the default skins:
• iPhone: [orientation].png
• iPhone Widescreen: [orientation]@R4.png
• iPad: [orientation]-ipad.png
• iPad Retina: [orientation]-ipad@2x.png
(In case you're wondering, "R4" stands for "Retina 4-inch", the size of the newer iPhone screens, and "@2x" is the suffix Apple recommends when providing images for retina displays.)
You might have noticed something else in the Default GBA portrait assets example: there's no value for iPhone Widescreen! This is because GBA4iOS has a nice fallback mechanism for skin images. If an image for the current device's screen doesn't exist, then it will fallback to using another image in the skin, if it can. In this case, if no iPhone Widescreen image exists, then GBA4iOS will use the normal iPhone image. Typically, this is what you'd want for a portrait iPhone skin; most of the time, you don't need a separate image for the different types of portait iPhone screens. If for whatever reason GBA4iOS can't fallback to using another image in your skin, it will then use the default skin.
Once you have updated the info.json file, the last step is to actually include the image files in your skin. Copy all the images you need for your skin into the same folder as the info.json file, and rename them exactly the same way that the info file expects them to be named, overwriting existing files if necessary.
GBA4iOS will automatically layout everything correctly regardless of what size the images are, but by default GBA4iOS uses the following image sizes for the default skins (in pixels):
GBA (Portrait)
• iPhone: 640 x 480
• iPhone Widescreen: n/a
• iPad: 768 x 427
• iPad Retina: 1536 x 854
GBA (Landscape)
• iPhone: 960 x 640
• iPhone Widescreen: 1136 x 640
• iPad: 1024 x 768
• iPad Retina: 2048 x 1536
GBC (Portrait)
• iPhone: 640 x 480
• iPhone Widescreen: n/a
• iPad: 768 x 333
• iPad Retina: 1536 x 666
GBC (Landscape)
• iPhone: 960 x 640
• iPhone Widescreen: 1136 x 640
• iPad: 1024 x 768
• iPad Retina: 2048 x 1536
If all you want to do is change the images of an existing skin or one of the "default" templates, at this point you have all the necessary pieces to make your skin, and can skip to the Finishing the Skin section below to learn how to turn these files into an actual .gbaskin or .gbcskin file. However, if you want to customize the button mapping for your skins, carry on into the next section, Mapping Buttons.

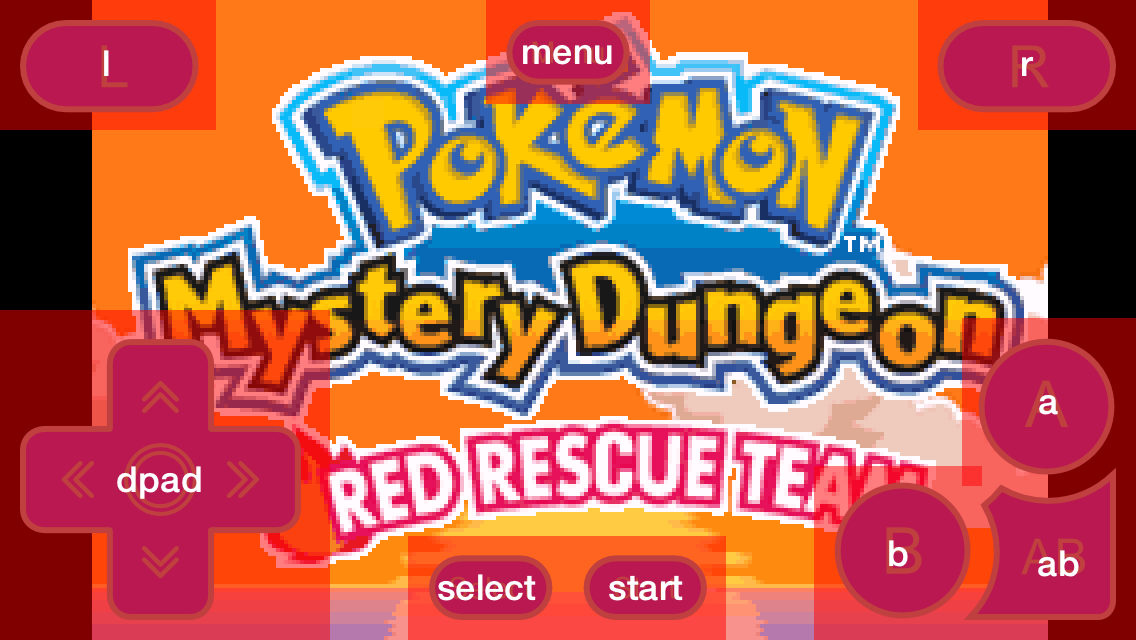
Despite looking radically different than the default GBC skin, Sketch by Alyssa Surowiec uses the exact same button mapping.
Mapping Buttons
Congratulations, if you have gotten this far in the tutorial, you know enough to make simple modifications of how a skin looks. However, skins offer more than just the ability to switch out images; they also give you full control over exactly where the buttons should go, how big they should be, and also where the game screen itself should be placed. Combining all of these, you can create very unique (read: strange) layouts for your skins, or maybe just make the game screen a bit smaller when in landscape mode. The point is, skins were designed to be flexible, and this section will show you just how to take advantage of everything!
Open up the orientation of your choice in your skin template, then open up layouts. If you open up landscape, you should see the following options:
• iPhone
• iPhone Landscape
• iPad
If you were to open up the portrait orientation, you would notice that there isn't an iPhone Landscape item. This is due to GBA4iOS' previously mentioned fallback mechanism. If GBA4iOS can't find button mappings for the current device's screen, then it will fallback to another button mapping. Unlike images, if it can't find any button mappings, GBA4iOS does not revert to using the default skin; it just won't respond to button presses! This fallback mechanism is the same reason why there isn't an iPad Retina item for either orientation. Very rarely will the iPad and iPad Retina button mappings differ, so it's better to just map all the buttons for the non-retina version, and have all retina iPads fallback to using the non-retina mappings. If the button mappings should differ between iPad and iPad Retina, or between iPhone and iPhone Widescreen in portrait, feel free to add either an iPad Retina or iPhone Widescreen item.
Now, let's take a look at the format of how each button is mapped. Open any button up, and you should see four or five items:
• x
• y
• width
• height
• extendedEdges (certain button mappings in the default skins may not have this)
The first four items define the exact location of the button in the image in pixels, with no padding around it. The extendedEdges item is something special that we use to add padding around the buttons to increase the touch area, but we'll look at that later.
Now, you may be wondering, how can the iPad and iPad Retina items use the same mappings, even though the iPad Retina image has twice the number of pixels both vertically and horizontally as the iPad image? Well, this is because everything is actually mapped in points. On a non-retina display, one point is equal to one pixel. However, on a retina display, one point is actually four pixels; two pixels wide and two pixels tall. So even though the iPhone image is 640 x 480 pixels, everything should be mapped as if it were 320 x 240.
NOTE: All types of screens are retina except for the iPad screen. So, if you're mapping anything other than an iPad image, it's recommended that you copy the image, downsize it to half its original width and height, and then map it.
Exactly how you find the location and size of the skin buttons may vary, but all GBA4iOS skins were mapped by downsizing images to non-retina sizes, opening them in Photoshop, and using a combination of masks and the Info window to find the exact pixel locations of each button. Once you find the required information, you can fill in the button mappings for each button ( x and y refer to the x and y co-ordinates of the top left of the button location).
Just so you know what each button does, they're each listed individally below. Some have (slightly) different mapping requirements than others, so make sure to read them all!
dpad
The plus-button-like control usually located on the left side of the skin. Typically, it controls movement in games. Unlike other controls, this control is actually divided up into nine sections: eight control directions, and a center neutral section. However, there aren't nine separate mappings for each section; there's only one for the entire D-Pad. So how does GBA4iOS know how to divide up the D-Pad into different sections? Simple, it just divides the button mapping you give it into three equal sections horizontally and three equal sections vertically. Because of this, it is very important that you map the D-Pad exactly as it appears on the skin, and with no extra padding, or else the directions will not exactly match what the user sees. To properly add padding without messing up the mapping, you can take advantage of the extendedEdges property, which will be explained in more detail below.
a
The A button. Typically, this is used to select or confirm options in the game.
b
The B button. Typically, this is used to cancel or perform secondary functions in the game.
ab
Some skins may have an AB button. When pressed, this button actually presses both the A and B buttons at once, which can be useful for certain games.
start
The Start button. Typically, this pauses the game.
select
The Select button. Typically, this performs a secondary function in the game.
l
The L button. Because Game Boys / Game Boy Colors don't have an L button, it's strongly recommended that you delete it from your GBC skin, or else you may confuse the user when they feel a vibration by tapping it and it doesn't do anything.
r
The R button. Because Game Boys / Game Boy Colors don't have an R button, it's strongly recommended that you delete it from your GBC skin, or else you may confuse the user when they feel a vibration by tapping it and it doesn't do anything.
menu
While the Start button typically pauses the game, this pauses the entire emulator, and allows you to access features such as Save States and Cheat Codes. As always, make sure to map it exactly without padding, since the pause menu that appears relies on the mapping to position itself next to the button on an iPad.
screen
Some skins (typically landscape skins) may choose to position the game screen themselves, either to fit it in a hole designed for the screen in the image, or possibly just to change how big the game screen is. Unfortunately, a bug in GBA4iOS 2.0 and 2.0.1 prevents skins from changing the aspect ratio of the game screen, but the upcoming version 2.0.2 will fix this.
extendedEdges
In addition to the extendedEdges item in each button mapping, there is also a orientation-specific extendedEdges item. Each extendedEdges item consists of four sub-items: top, bottom, left, and right. These four items "extend" the edge of a button in that direction by whatever value it has been set to. For example, the A button may have a mapping of:
• x: 15
• y: 100
• width: 80
• height: 80
However, maybe the orientation-specific extendedEdges has a value of 10 in all directions. Now, the actual touch target of the A button would be:
• x: 5
• y: 90
• width: 100
• height: 100
This has two benefits:
1) It is easier to map buttons, since all you need to worry about is mapping the exact location of the button, and adding the padding later.
2) This allows padding to be added to the D-Pad and Menu button without messing up the internal calculations GBA4iOS uses for each button.
Another reason to use extendedEdges is to ensure the touch targets of buttons near the edges of the screen actually extend to the edge. This is very important, because if you don't do this, it's easy for the user to tap near the edge of the screen but not perform any action due to the touch targets not extending far enough. To make this an easy fix, each button mapping also has its own extendedEdges item, which will overwrite the orientation-specific version if you enter a value for it. For example, let's take the A button example above. With the orientation-specific extendedEdges, you may notice that it is only 5 points away from the left edge of the screen. To get the best experience out of using your skin, you should make sure it extends all the way to the left edge. To do this, open up the a button mapping, and then open up its own extendedEdges. Once that's opened, set left to 5, and save. Now, the touch target of the A button will be:
• x: 0
• y: 90
• width: 105
• height: 100
Good, it extends all the way to edge! Per-button extendedEdges can also be applied simply to tweak the extendedEdges of a button. For instance, typically GBA4iOS uses a global 7-point padding for every button on iPhones, but uses 15-points on the D-Pad, since the user is more likely to miss it due to moving their finger around more. Just remember, map all buttons exactly as they appear on the skin with no padding, and then use extendedEdges to add the padding later.
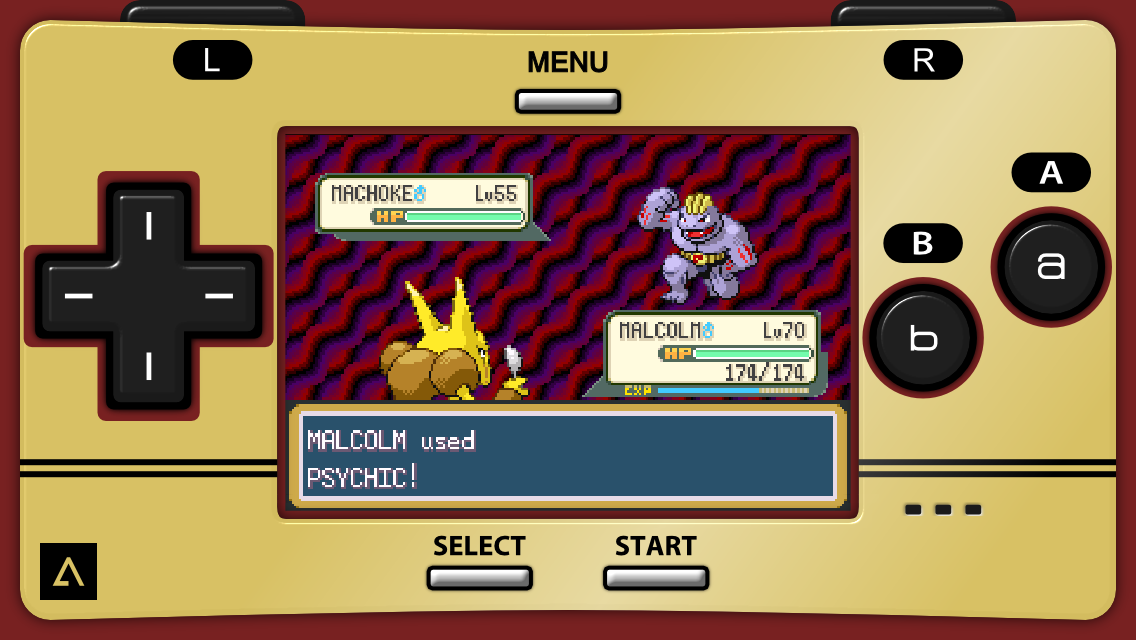
Micro by Paul Thorsen customizes the size and location of the game screen to fit nicely within the center of the skin.
Finishing the Skin
At this point, you have everything you need to convert the files into a skin file you can start using in GBA4iOS! Now, the last thing to do is to actually import it into GBA4iOS, which thankfully is the easiest part.
Every .gbaskin and .gbcskin file is just a zip file with the .zip extension renamed. That means, to turn your files into a skin file, all you need to do is compress all the individual files into one zip file and rename the extension .gbaskin or .gbcskin, depending on whether your skin is for GBA or GBC games. Something important to remember: because GBA skins have all the buttons required by GBC games, GBA skins can be used for both GBA and GBC games. However, because GBC skins lack L and R buttons, they can only be used for GBC games.
NOTE 1: When compressing the files, make sure to compress the files themselves, and not the containing folder. If you zip the folder and not the files directly, GBA4iOS will not extract the files correctly upon import, which will prevent the skin file from being used.
NOTE 2: When renaming the extension, make sure the extension actually changes. Sometimes, the file may look like its extension was changed, but the computer might have (invisibly) added the extension back on the end of the filename. On a Mac, the best way to ensure the extension changes properly is to right-click the file, click Get Info, and then change the extension there.
Once you have your .gbaskin or .gbcskin file, you need to import it into GBA4iOS. If you're working at your computer, generally the easiest way to do this is via iTunes. To import via iTunes, you can follow these instructions:
1) Connect your iOS device to your computer.
2) Open iTunes.
3) Click on your device that appears in the top right corner.
4) Click the Apps tab near the top of the iTunes window.
5) Scroll down to File Sharing.
6) Click GBA4iOS, then drag the skin file into GBA4iOS Documents.
7) Launch GBA4iOS on your device, open Settings, and select the new skin you imported.
If you don't want to transfer through iTunes, you can always send it to your device via Email, iMessage, or via downloading through a web server. Once you receive it on your device, Open In... GBA4iOS, and then you can select the newly imported skin in GBA4iOS' settings.
Once you've imported your custom skin, the last step is to start a game of your choice, and start playing with your creation. Congrats, you worked hard for it!
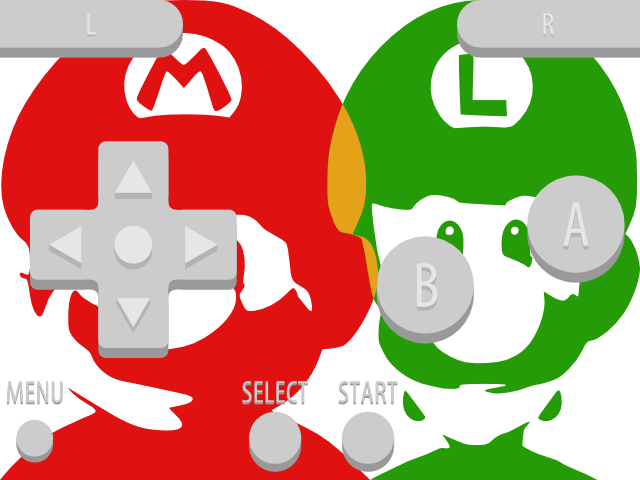
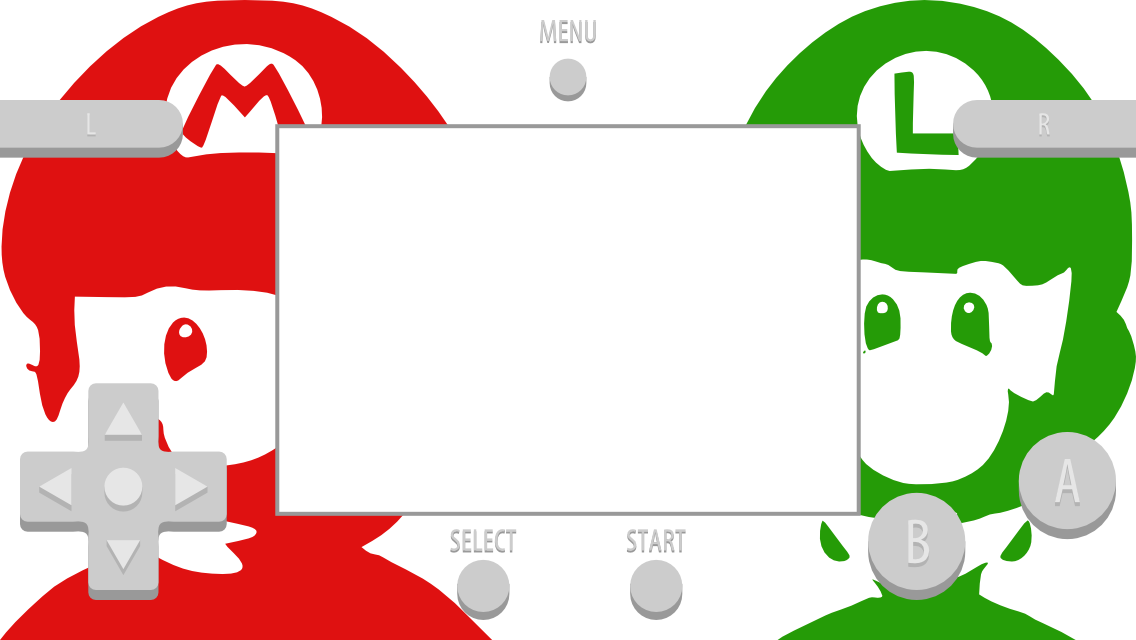
Once you've mastered the art of making skins for one orientation, try making one for both such as Mario + Luigi by Paul Thorsen, so you can enjoy your handiwork no matter which orientation you're in!